
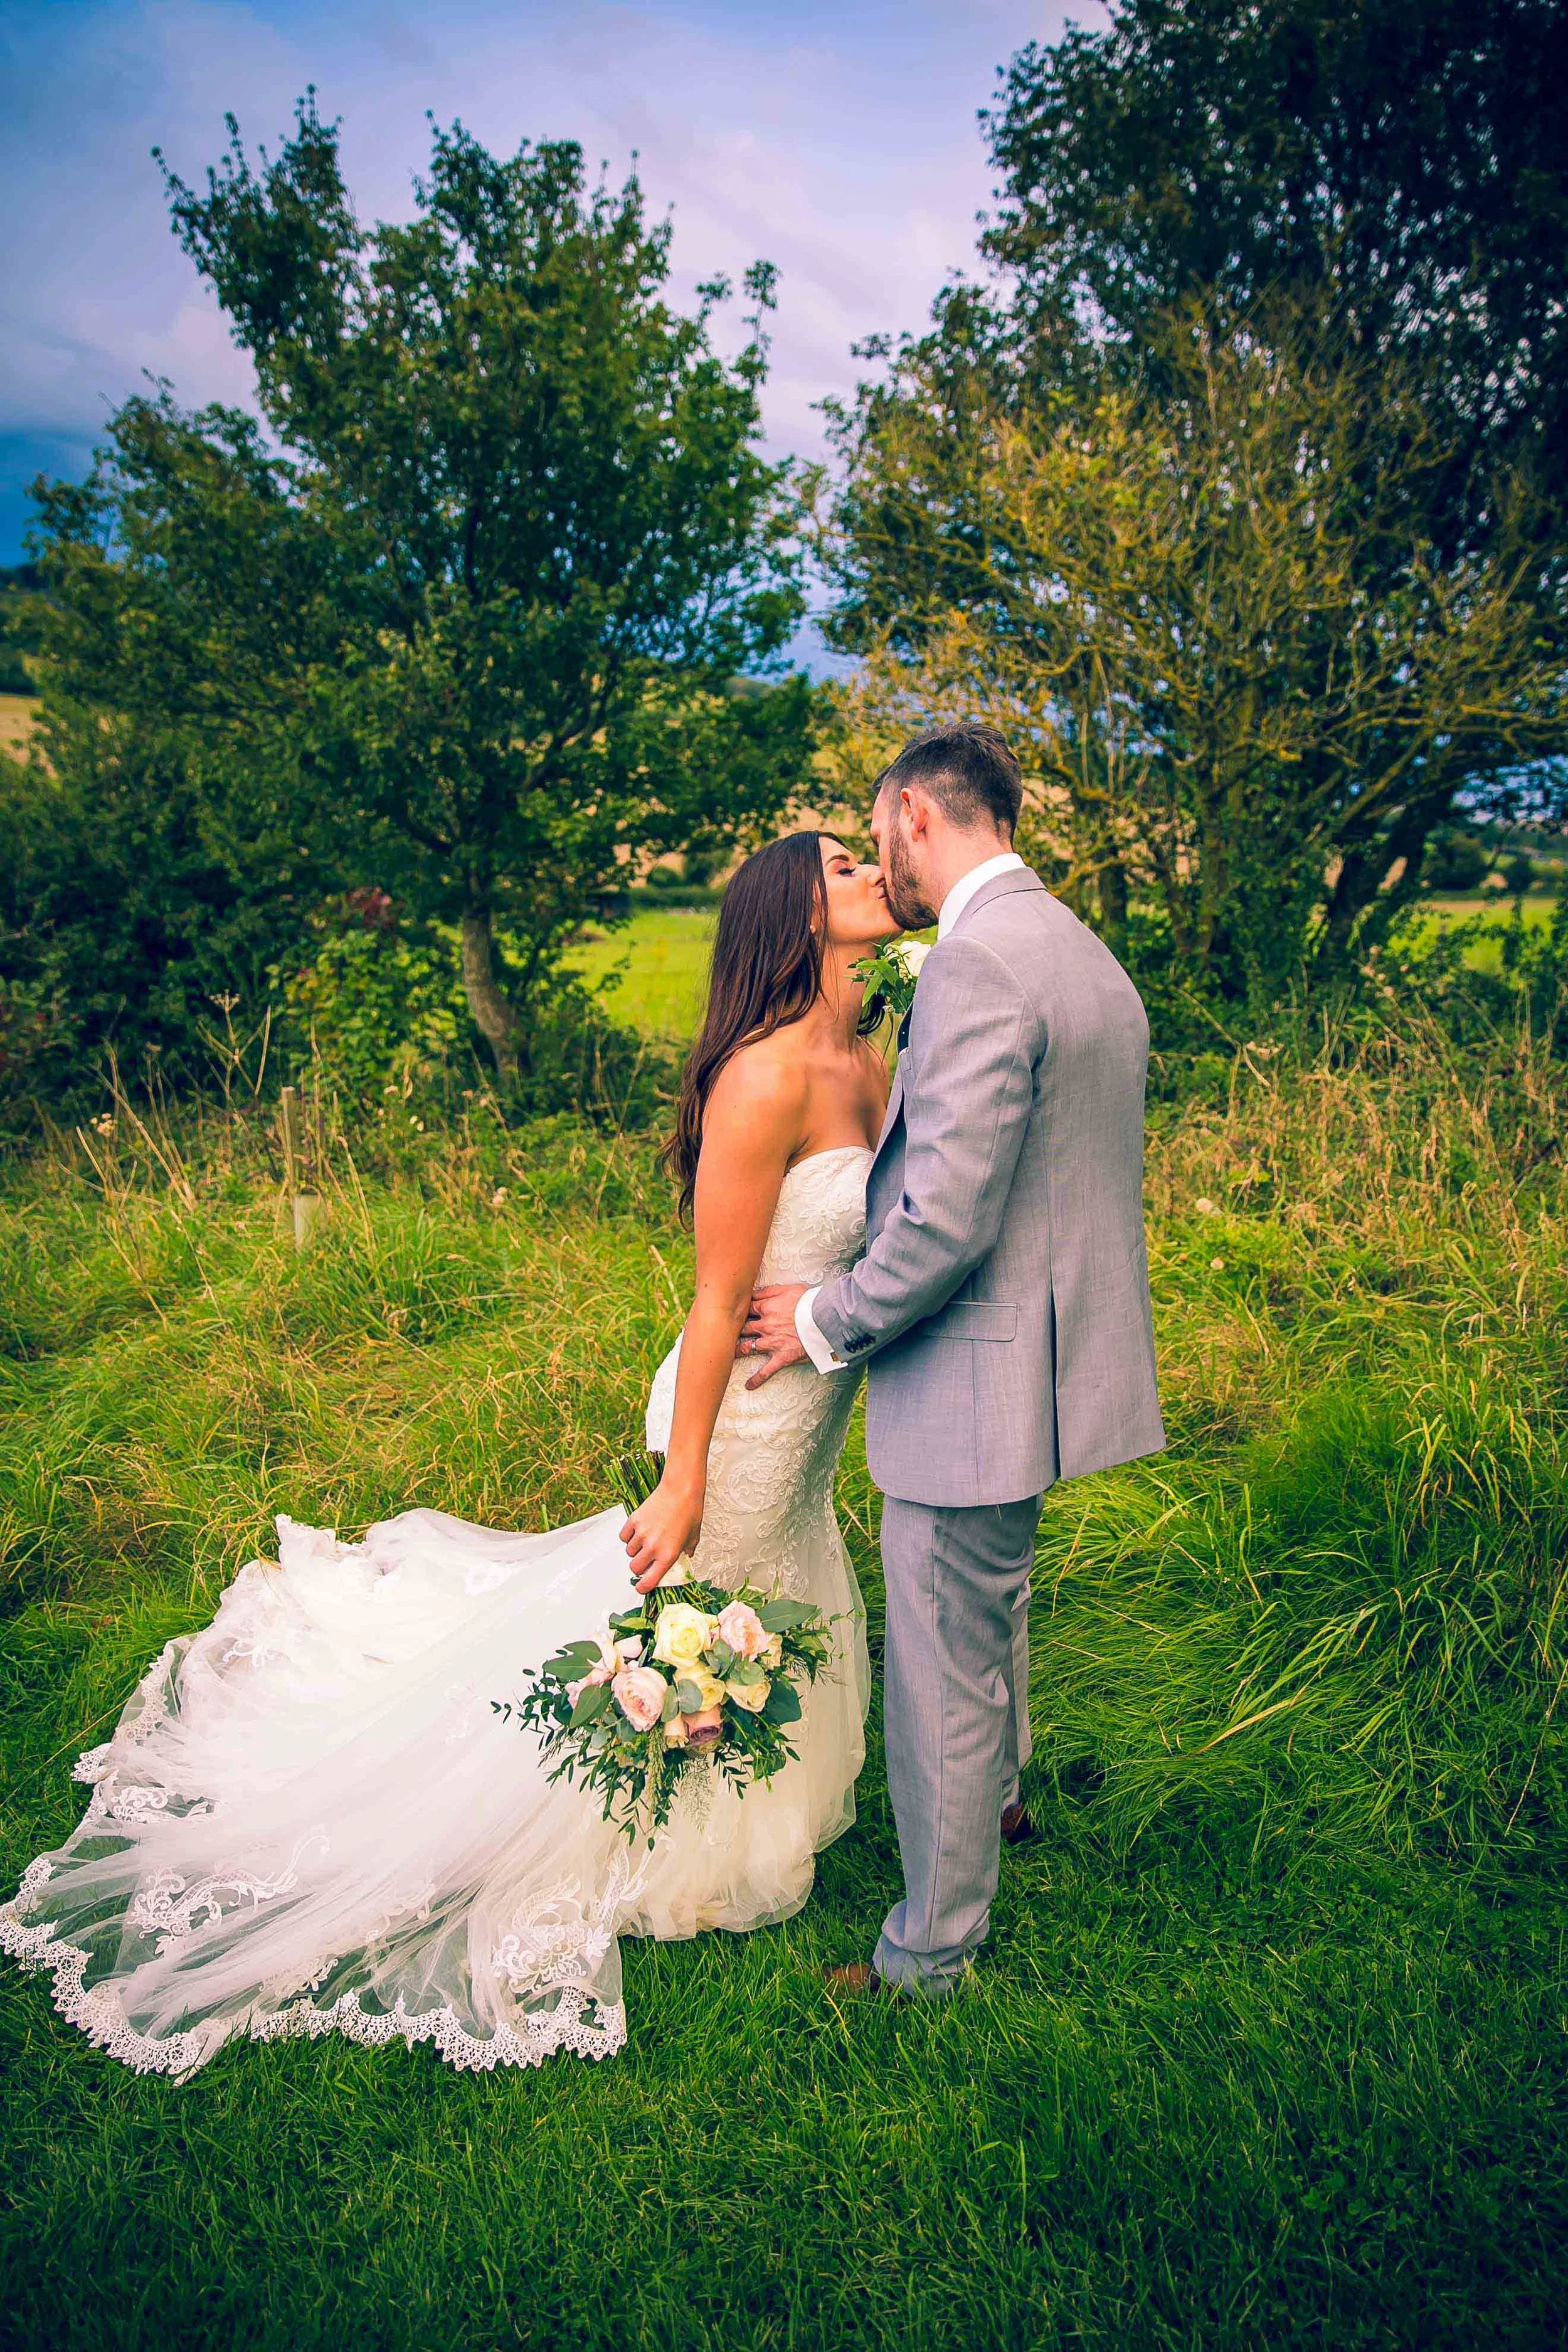

This week marks a time in the calendar when the bluebells are now about to come out in bloom and the once muddy and barren woods of winter are transformed with a carpet of purple flowers. They're a popular location to photograph either on their own or with people and they're also popular with wedding couples for their pre shoots or save the date pictures. This time last year I was photographing for Russ and Katharine ahead of their August wedding date and the images (shown here) made for a lovely pre shoot to be included in their final album. I wanted to concentrate in this blog on three things. Firstly the location and respecting the environment you're shooting in, secondly, the different styles of poses you can use and finally, camera settings.
Respect where you're shooting.
Now whilst I'm not a horticulturist I do know that bluebells are delicate and don't take kindly to being walked upon and rarely recover if damaged. They're also deceptively small and unlike with daffodils or even snowdrops, there is a temptation to walk amongst just damages them given their abundance. By all means get amongst them but look for a path that has already been trodden and keep further damage to a minimum and leave them looking pristine for others. Look for spaces where people have either sat and try and use the same location for your shoot or maybe wood or branches to use as a prop. Why am I telling you this? Well if you're going to shoot with a couple on their romantic pre shoot or for a commercial shoot with a company and the first thing you do is destroy or damage the area, it just has a really negative vibe to the whole experience. It also says a lot about the person you are so if you're shooting in the woods, take the path WELL trodden in this case and leave it for others to come after you. Ok, enough of the woodland admonishment and to the poses!
The poses

There are many different poses to try when shooting in woodland regardless of the fauna in bloom. The most common ones are sitting amongst the as a couple with the man holding his partner in a protective style pose. You can also place one of your models to the front by about a metre and play with the depth of field so that the person in the foreground stands out. It's a great way to place emphasis on a particular person and by changing places gives some options for the final images. Using the wood or logs around you to sit or even lay is also a fun way to "lift yourself" above the bluebells so that you don't get lost in the image. My favourite however is to change the angle and photograph low down or at the same height sitting. If you are taller than your model (which I usually am) it makes the model look obscured by the busy ground or colours, try and remain at the same level or just slightly below. If you or your model doesn't mind laying down you can then photograph them from above or laying down opposite them as they lift themselves on their elbows. Bring a blanket for them lay on and you can make this a feature of the imagery or (and don't laugh) I always carry a bin liner with me to either sit or lay on. Now whilst this isn't very romantic or photogenic, it's a great way of sculpting a dry space on the floor to sit on and allows you to gather it close so that you won't see it in the photos. If people feel physically uncomfortable because they're worried about being cold or wet, this will come out in the photos so plan ahead and always have a back up plan. You'll thank me for it and so will the person you're shooting with! Finally, my favourite poses are some close up shots holding a single bluebell between a couple or to a child's face and then crop close in on the facial features and flower. I'm going to cover cropping in a later blog, but shooting details and obscuring others really draws the eye and makes the person looking think at what else is in the picture for the eye to explore. Try it out!
Settings
Finally the camera settings. The depth of field you choose for your shots will bring a completely different look and feel to the same pose and can create a stunning purple back drop. A wider depth of field can also give you some detailed definition to the plants and trees begin and so long as they don't detract from your subjects you're shooting. Woods can also be tricky to photograph in as they can be bathed in light one minute and dark the next. They can also have patches of light created by the leaves and sunlight so mean constant changes to camera set up is required. You may also need flash so find a space that is neutral in light and go from there. Always avoiding the dreaded "auto" functions unless you're using an iPhone, select the AV mode and control the shot with the aperture. Your camera will automatically expose the shot and select the shutter speed. All you need to do is decide if you want a shallow or wide depth of field and dial a low number in the AV settings for closer detail and blurred edges and a higher number for more detail expanding to the edges of the photo. A word of warning here. The higher the number, the lower the shutter speed the camera needs to let light into the picture. For those familiar with shutter speeds, you shouldn't shoot anything below 1/80 of a second without a tripod or you'll run the risk of a blurred photo. My tip here is to switch therefore to AV mode and dial a number between f2.5 and no higher than f7.0. Anything more isn't really required for general shooting and will allow your camera to select a shudder free shutter speed. Your camera will tell you if the image is too dark or too light but automatically adjust for you. If however you prefer to shoot in manual mode, you can play with settings to your hearts content but be prepared to bring a fast lens or a flash.
The depth of field you choose for your shots will bring a completely different look and feel to the same pose and can create a stunning purple back drop. A wider depth of field can also give you some detailed definition to the plants and trees begin and so long as they don't detract from your subjects you're shooting add something that will constantly draw your eye to.
So to summarise:
be respectful to the place your shooting in and leave it as much as possible for others to visit and enjoy
Plan ahead and bring a blanket as well as some ideas on how you're going to photograph and always start by photographing at the same level
Use AV (aperture) mode and let the camera do the work. It's not technically auto mode but a good way to get the look you want.
I hope this has been useful and in my next blog I'll be ideas about pre shoot wedding accessories and how to make your shoot look individual. Thanks for reading !